Beginners Guide to Liveview Component
4 minutes to readLiveview Components are a powerful tool in the Phoenix framework. If you know how to use them you will probably end up with a good, organized project with reusable code.
Liveview Components comes in two flavors:
- Function Components: They are perfect when all you want is to organize your HTML code or when you have a piece of content that makes sense to be bundled together. Examples for that are:
- Buttons
- Labels
- Inputs
- tables
- flash messages
- forms
Function components don’t hold state and they depend on the variables that you send to them.
  defmodule HtmlComponents do

	  @doc """
	  Renders a button.

	  ## Examples

	      <.button>Send!</.button>
	      <.button phx-click="go" class="ml-2">Send!</.button>
	  """
	  attr :type, :string, default: nil
	  attr :class, :string, default: nil
	  attr :rest, :global, include: ~w(disabled form name value)

	  slot :inner_block, required: true

	  def button(assigns) do
	    ~H"""
	    <button
	      type={@type}
	      class={[
	        "phx-submit-loading:opacity-75 rounded-lg bg-zinc-900 hover:bg-zinc-700 py-2 px-3",
	        "text-sm font-semibold leading-6 text-white active:text-white/80",
	        @class
	      ]}
	      {@rest}>
	      {render_slot(@inner_block)}
	    </button>
	    """
	  end
  end
This example comes from the CoreComponents module that it is created for you when you create an app with phoenix liveview.
Let’s explain this code a little bit.
First of all function components are exactly what the name entails, they are functions that return HEEX components. They need to receive a map with variables but we usually use the assigns name for them. Inside the ~H""" """ we can call the variables directly by using the @ before the name of the variable.
In the example above you can see we set some attributes using the syntax:
-
attr :name_of_the_attribute, :type_of_the_attribute, required: (BOOLEAN value), default: the default value of the attribute
These attributes are not required but when you use them, if you set any attribute as required: true phoenix will complain when you do not set them. It is useful to have them but they are not required.
One of the attributes in the example above stands out because it begins with slot rather than attr. This distinction is significant, as it indicates that we can insert child components into this component. You can think of it as the equivalent of {children} in a React component, allowing dynamic content to be placed inside.
A little bit more about slots
Slots are the way we, in the phoenix framework, allow dynamic content inside another component. Slots can be named. In the example above the slot we rendered is the default slot call @inner_block. But if we want to have slots with other names we can simply call with a named slot.
defmodule MyAppWeb.Components do
  use Phoenix.Component

  @doc"""
  Renders a Card Component

  # Examples
    <MyAppWeb.Components.card>
	  <:header>
	    <h1>Header Content</h1>
	  </:header>
	  This is the main card content.
	  <:footer>
	    <p>Footer Content</p>
	  </:footer>
	</MyAppWeb.Components.card>
  """
  def card(assigns) do
    ~H"""
    <div class="card">
      <div class="card-header">
        <%= render_slot(@header) %>
      </div>
      <div class="card-body">
        <%= render_slot(@inner_block) %>
      </div>
      <div class="card-footer">
        <%= render_slot(@footer) %>
      </div>
    </div>
    """
  end
end
The name of the slot should be the same as the name of the variable. And inside the slot we can add any HTML we want. We can even add another function component.
Function components are perfect when you don’t need any logic that needs to hold state or when you don’t need to have any action on it.
But if you need to handle some state or your component have behaviors or actions that you need to execute, in this case you need a Live Component.
Live Components
A live component is different from a function component in the sense that it can hold state, it has it’s own lifecycle and can perform actions using handle_event callbacks.
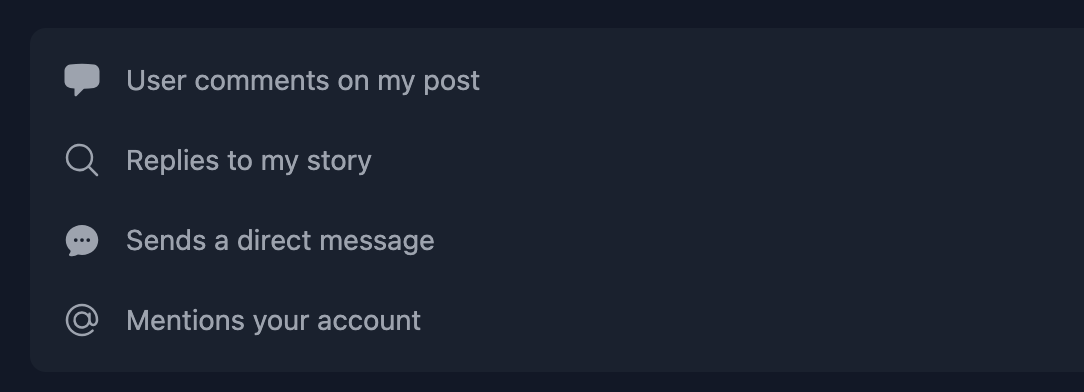
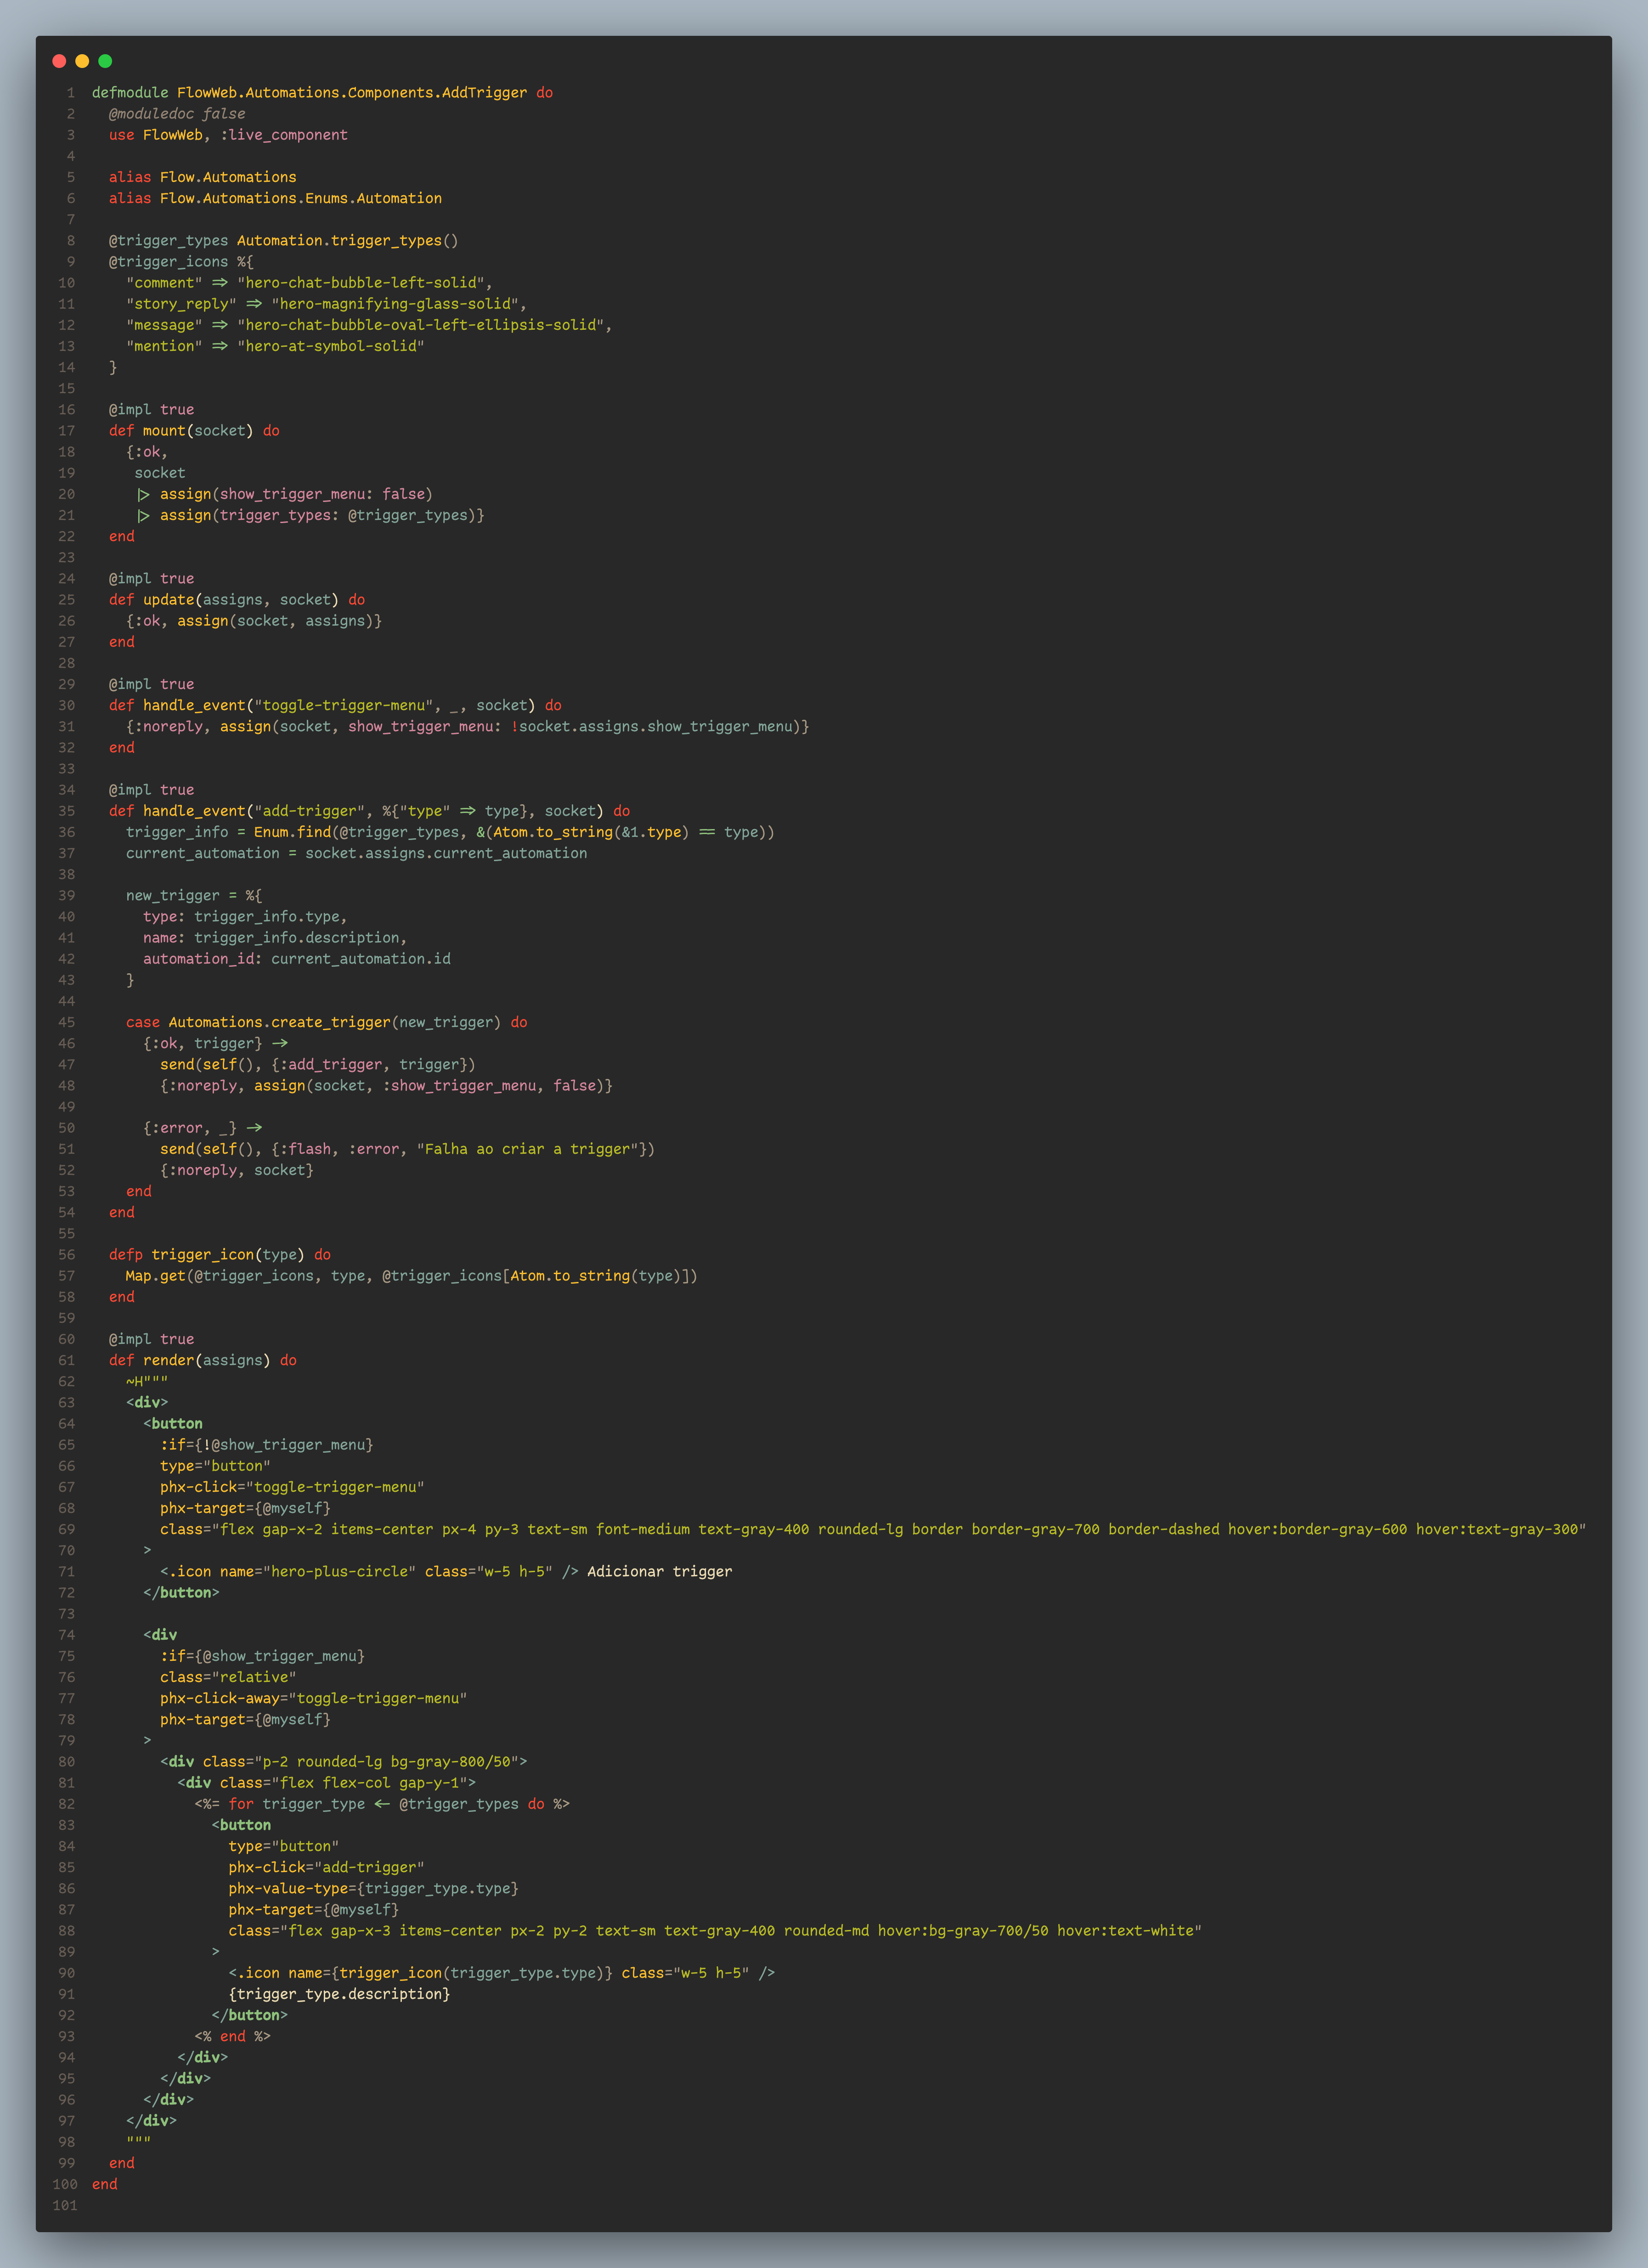
The following code is a live component from my new project. The component will show a button, when you click the button it will show some options for you to choose from and when you choose an option it will call a phoenix context to create a resource in the application.
This is the button before you click on it:

This is the button after you have clicked on it. You can now click on any of the options:

Here it is the code for the live component:

Right away you can see some differences between function components and live components. First of all a live component uses the live_component macro:
use FlowWeb, :live_component
Because they hold state they also have their own lifecycle. A live component has two main functions:
mount/1 and update/2 and they are used for different purposes.
The mount function is used the same way we use for our liveviews. It is a callback that is fired when the live component starts. You can do whatever you want here as long as you return {:ok, socket}. But don’t go mad about it. Try to not call code that takes a lot of time to execute here.
The update function is a little bit different. It is called after the mount and will be called whenever the assigns state changes. Whenever we need to re-render (and we need every time the fields assigned to the component changes), phoenix will call update.
mount(socket) -> update(assigns, socket) -> render(assigns)
Keep in mind that the socket is not the same as the one being used in the liveview. This means that you will not have access to the same fields assigned in the liveview socket. The way to pass assign fields to the liveivew component socket is by assigning them when declaring the component:

The reasons to have live components are two:
- they can hold state
- they can react to events
When you want a liveview component to react to an event you create a handle_event callback the same way you do with liveview but there is a catch. When declaring the phx-click you should never forget to add the phx-target to @myself, otherwise phoenix will try to find the handle_event callback in the liveview instead of in the component.

I believe I covered some ground rules about liveview components. In another post I can explain how I use other callbacks like update_many/1 and how I decide to create a component or not. Spoiler alert, sometimes I just create a component to make my render function more digestible.
But, there are 2 main reason why you should consider create live components:
- When you can reuse a piece of logic. When you can put a piece of logic in a box that can be used in multiple parts of your system.
- When you sense that a business concept needs a name, it’s often more intuitive than logical—more of a feeling than a deliberate decision. Sometimes, it simply doesn’t feel right to leave a piece of code unstructured or blended in with others, as though it’s missing its identity or clear purpose. There is one rational that you can use though: When you can identify that your module has functions that are loosely related maybe it means that you should extract that logic to a component.
That’s it. I will live here the link for the awesome liveview components documentation and I see you next time.
